Using Strapping and Sports Tape: A Step-by-Step Guide
Disclaimer: This is not personalised health advice as it can vary depending on the injury.
Whether you're an athlete recovering from an injury or an enthusiast seeking extra joint support, incorporating strapping and sports tape into your routine can be a game-changer. These tools not only aid in injury prevention but also play a crucial role in rehabilitation. We see a lot of ankle injuries in sports so in this guide, we'll explore the types of tapes available and walk you through the strapping process. We’ll also briefly explain why physiotherapy can help the healing process.
Types of Tapes
There are 2 main strapping tapes we use at Springwood Wellness Centre: rigid strapping tape and elastic sports tape. Rigid tape offers robust support, ideal for stabilising joints and preventing excessive movement. Elastic sports tape, such as kinesiology tape, mimics the skin's elasticity, promoting natural movement while providing support.
Steps:
1. Prepare the Area

Begin with clean, dry skin. Shave any excess hair for better tape adhesion and you don’t want your hair ripping out when the tape comes off - trust us! Cleaning the skin removes oils and sweat, enhancing tape adherence and overall effectiveness.
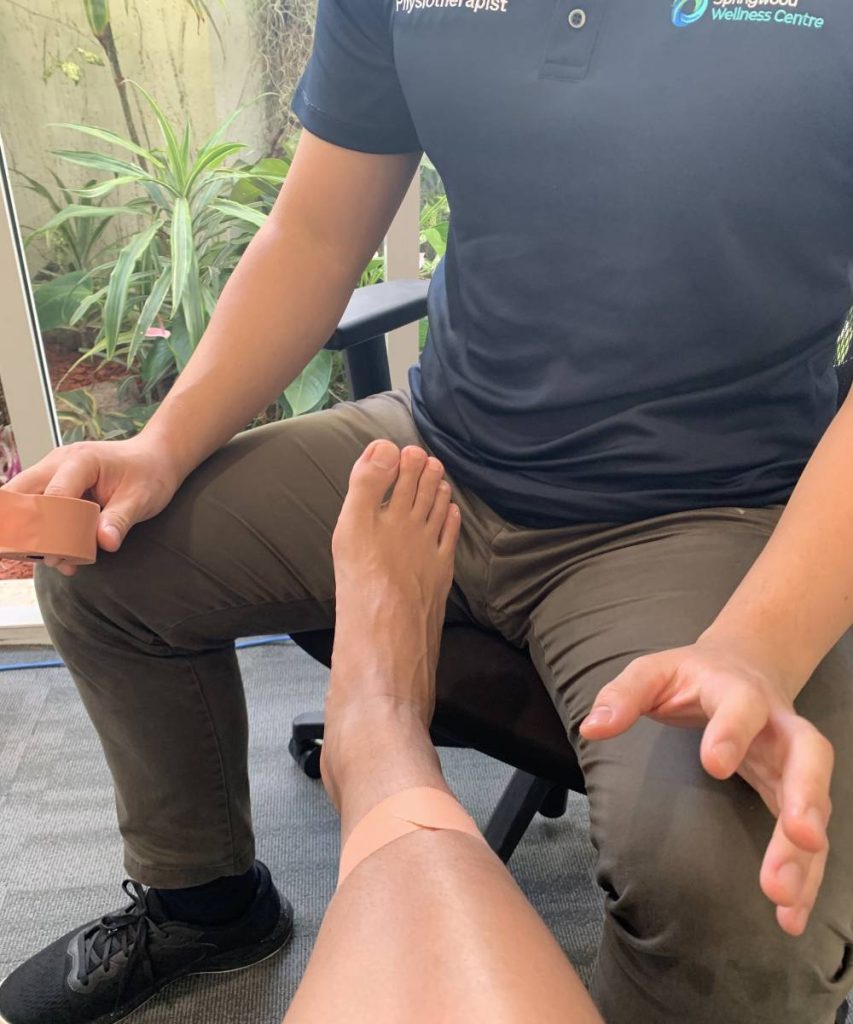
2. The Anchor

Commence the strapping process by applying the anchor. This foundational strip, placed without wrinkles, serves as the base for additional support. Start from a non-sensitive area, wrapping the tape firmly around the joint. If you’re unsure where to start, please give us a call and we’ll put you in touch with our physiotherapist!
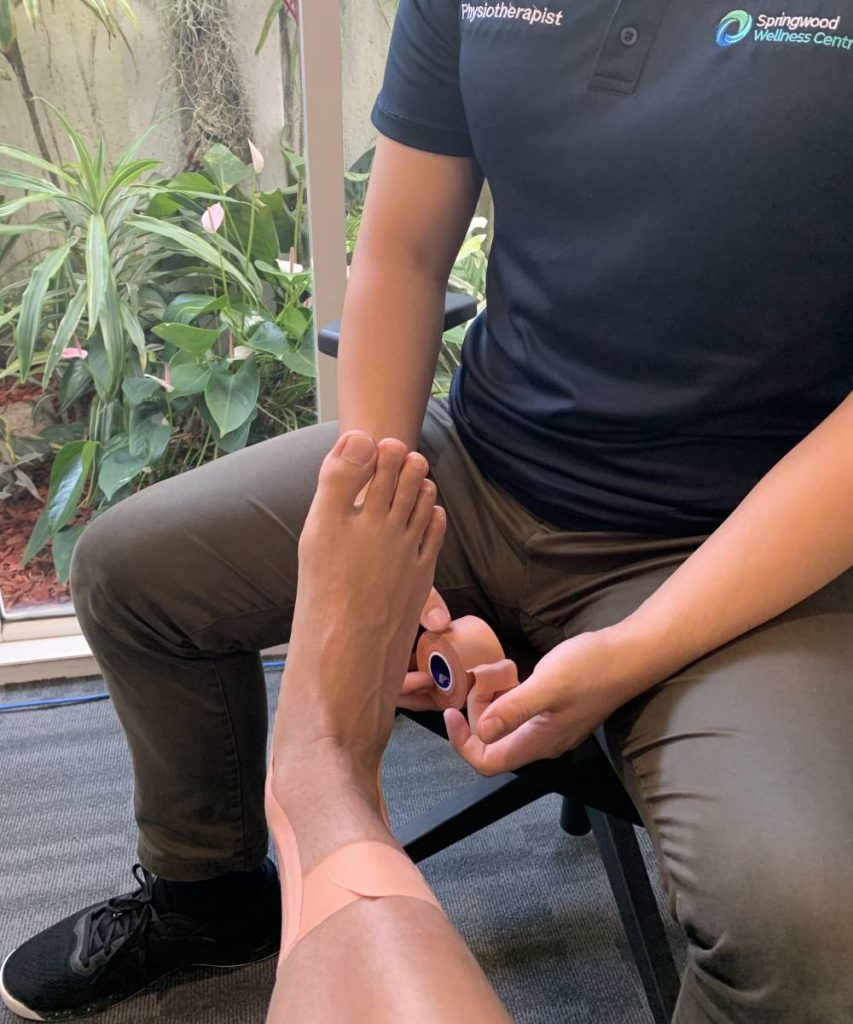
3. Stirrups

Enhance support by creating stirrups. Apply strips of tape perpendicular to the anchor, extending from one side of the joint, crossing underneath, and wrapping around the other side. This technique provides lateral stability without impeding natural movement.
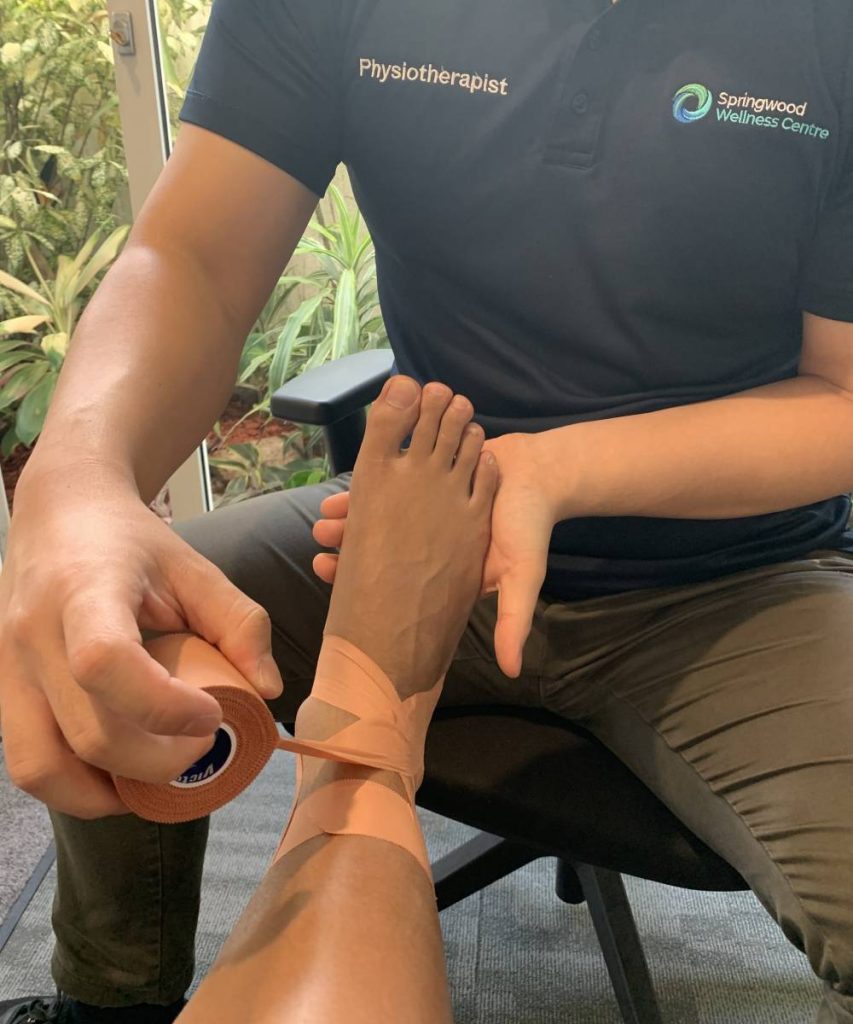
4. Figures of 6

Reinforce the joint further with the Figures of 6 technique. Apply strips in the shape of the number 6, starting from one side, looping around, and finishing on the opposite side. This aids in distributing pressure evenly, providing additional targeted support.
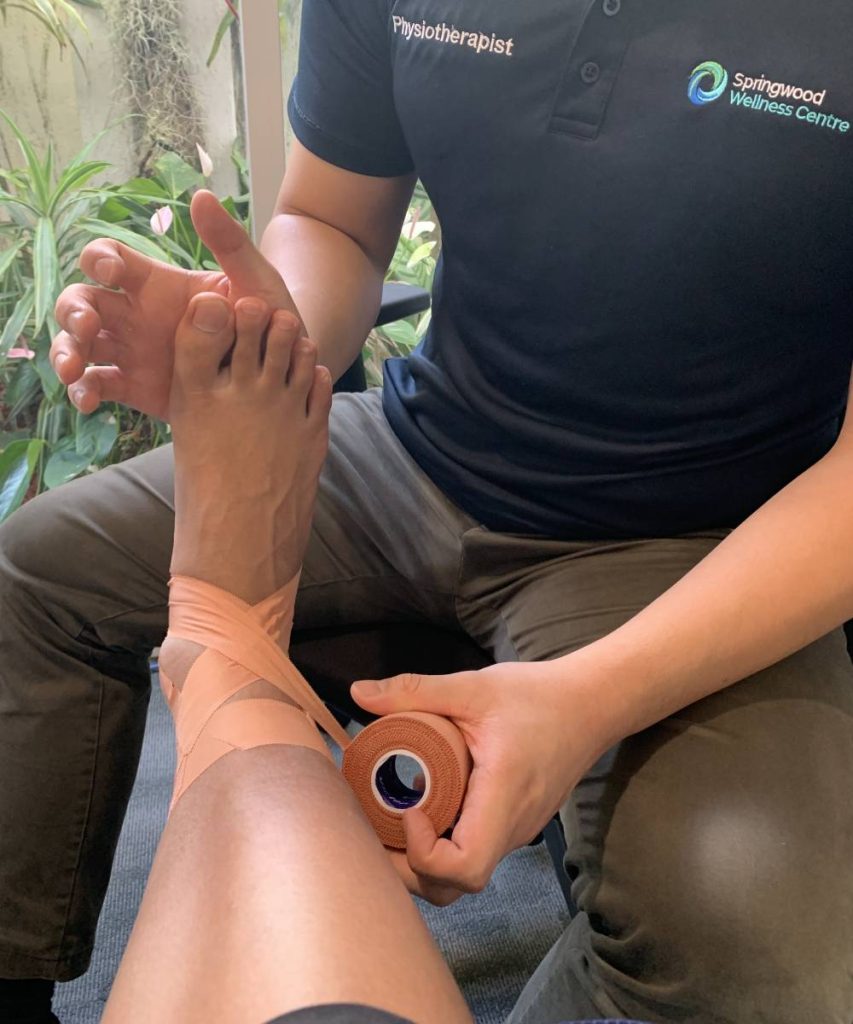
5. Reverse Figures of 6

Complete the strapping process with reverse Figures of 6 on the opposite side of the joint. This crosshatching technique enhances overall stability, ensuring the tape effectively supports the joint during movement.
How Physiotherapy can help
Incorporating physiotherapy into your strapping routine can significantly amplify the benefits. A physiotherapist can assess your unique needs, guide you in tape application, and design exercises that complement the strapping to accelerate recovery. Regular physiotherapy sessions can help address underlying issues, improve joint function, and prevent future injuries. Always consult with healthcare professionals or sports therapists for personalised guidance based on your specific requirements.
If you’re feeling any pain or discomfort, Springwood Wellness Centre can help you! Our qualified physiotherapist in Logan is happy to guide you to a properly strapped ankle. Give us a call on 07 3808 6633.
